Hi there,
In this article, you will find the steps on how to cancel your VPS if you need to. Watch this video for a quick guide:
1 – Log into your client area.
2 – Click on the “VPS” button on the top centre of the screen.

3 – Click on the pencil icon next to the title of the VPS you want to cancel.
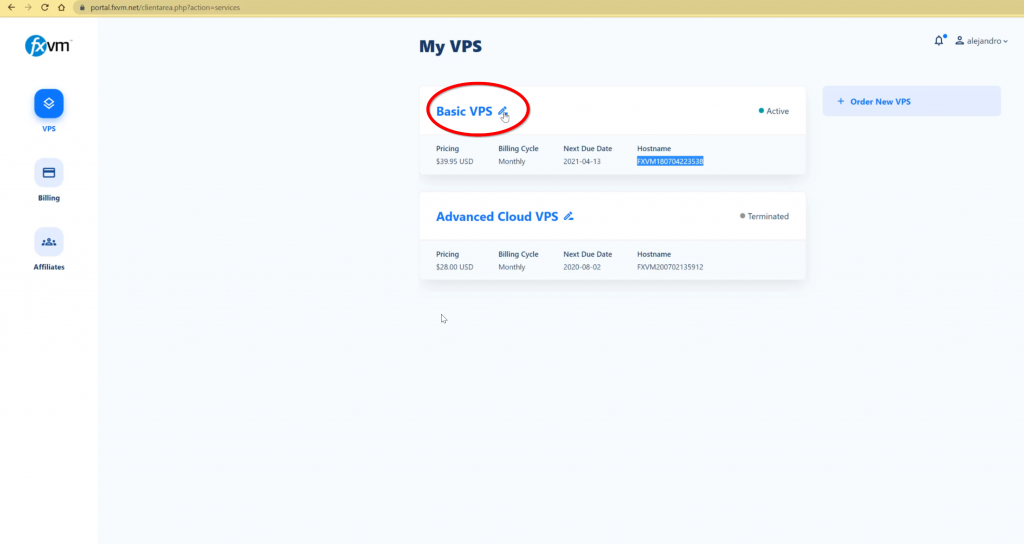
4 – Click on the “Request Cancellation” button to the right.

5 – Select a cancellation reason and a cancellation type.
6 – Click on Request cancellation.

7 – Make sure you got a message stating that the cancellation request was sucessfull.

8 – If you have an automated payment set up in PayPal, please cancel it here: https://www.paypal.com/cgi-bin/webscr?cmd=_manage-paylist
If you have any further questions please email us to support@fxvm.net or contact us via our live chat.